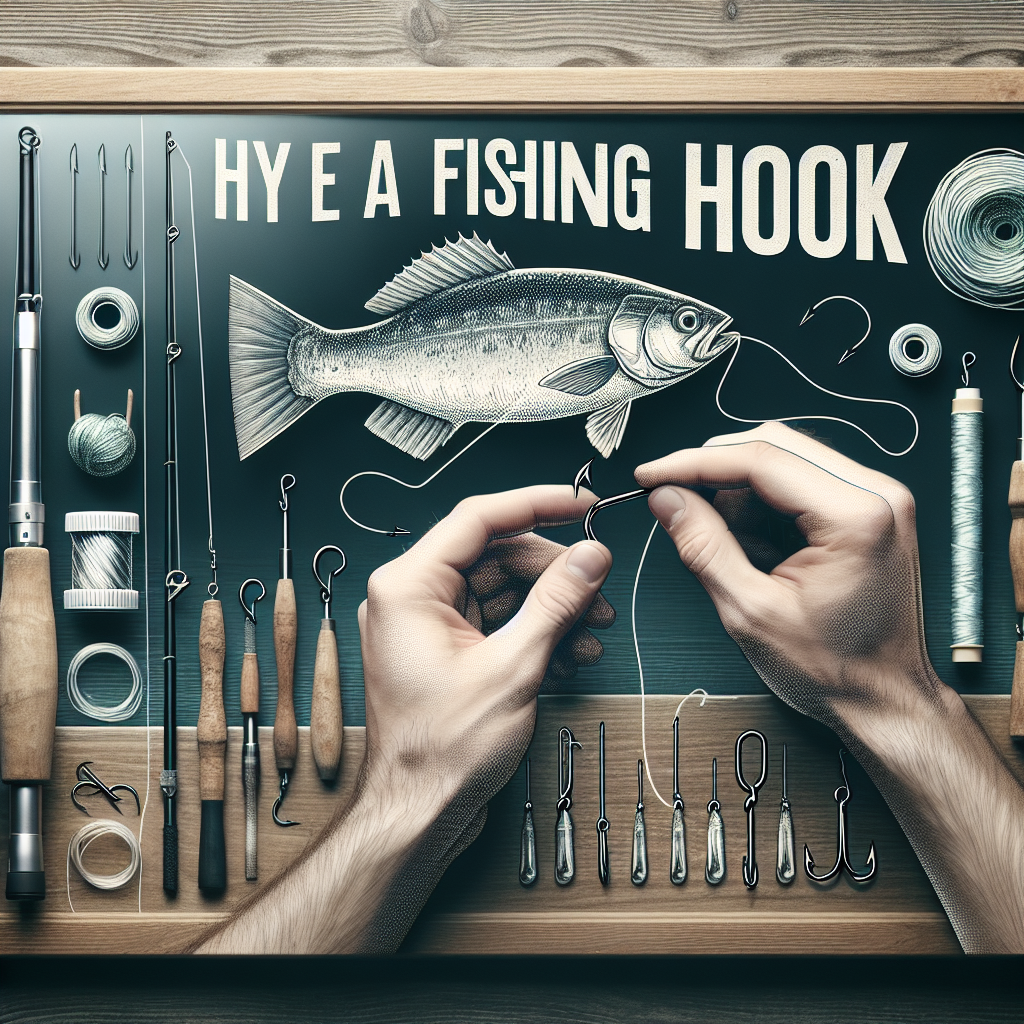
Fishing is not just about the thrill of the catch; it’s also about the techniques that enhance your experience and increase your success. One of the most crucial skills every angler should master is tying the right fishing knots. A good knot ensures that your bait or lure stays securely connected to your line, allowing you to reel in that big catch without worry. In this article, we’ll walk you through some of the most popular fishing knots and step-by-step instructions on how to tie them.
Why Fishing Knots Matter
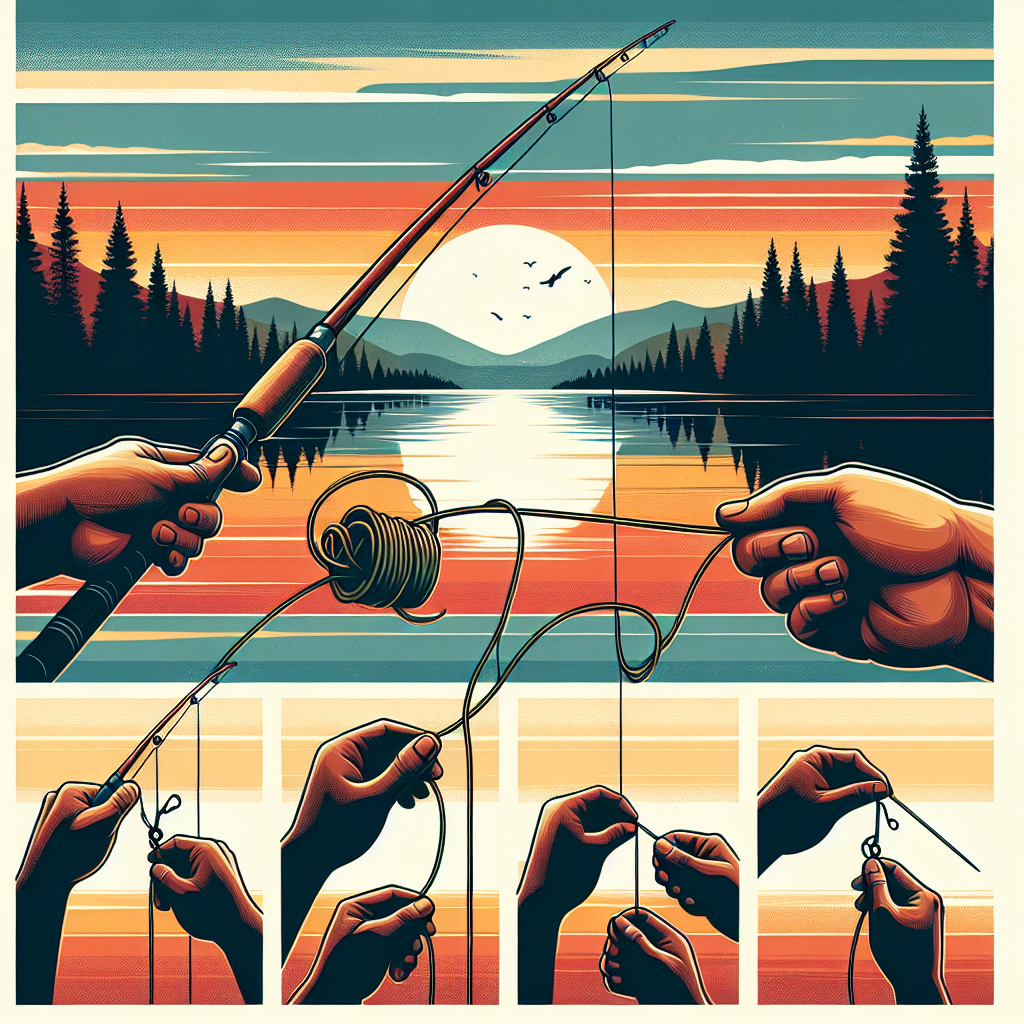
Before diving into the specifics, it’s important to understand the role of knots in fishing. A quality knot can mean the difference between landing a prized fish or losing it. Knots can affect the overall strength of your line, as well as its sensitivity and how well it transmits vibrations from the fish. Additionally, different situations might require different knots, so having a repertoire is beneficial.
Common Fishing Knots
1. The Improved Clinch Knot
This is one of the most widely used knots for securing a hook, lure, or swivel to your fishing line.
Steps to Tie:
- Thread the Line: Pass the end of your fishing line through the eye of the hook.
- Wrap the Line: Wrap the tag end around the standing line (the main line) about five to seven times.
- Feed Through: Take the tag end and feed it through the small loop right above the eye of the hook.
- Second Loop: Now, pass the tag end through the big loop you just created by wrapping.
- Tighten: Wet the knot with some saliva or water and pull on both the standing line and the tag end to tighten.
- Trim Excess: Cut any excess tag end off for a neat finish.
2. The Palomar Knot
Renowned for its strength and ease of tying, the Palomar knot is perfect for tying your line to a hook or lure.
Steps to Tie:
- Double the Line: Start by doubling about six inches of your line and passing it through the hook’s eye.
- Make an Overhand Knot: Create a simple overhand knot with the doubled line, but do not tighten it yet.
- Loop the Hook: Pass the loop of the overhand knot over the hook.
- Tighten: Wet it slightly and pull on both ends of the line to tighten the knot firmly.
- Trim Excess: Cut off any remaining tag end.
3. The Loop Knot
If you want to give your bait or lure more freedom of movement, the loop knot is an excellent choice.
Steps to Tie:
- Form a Loop: Create a loop in your line, leaving enough tag to work with.
- Wrap Around: Take the tag end and wrap it around both the standing line and the loop about five times.
- Feed Through Loop: Pass the tag end through the loop you initially formed.
- Tighten: Wet the knot and pull on the standing line to cinch it down; adjust the loop size as necessary.
- Trim Excess: Cut off any excess.
Tips for Tying Fishing Knots
- Practice: Like any skill, practice makes perfect. Spend some time getting comfortable with these knots before your fishing trips.
- Use Quality Line: Ensure you are using a quality fishing line that suits the type of fishing you’ll be doing.
- Keep It Wet: Always wet the knot before pulling it tight to reduce friction and prevent line damage.
- Check Strength: After tying the knot, give it a test pull to ensure it’s secure before you cast.
Conclusion
Mastering fishing knots is essential for any angler, whether you’re a novice or highly experienced. The right knot can enhance your fishing experience and improve your success rate. Familiarize yourself with these popular knots and practice them until you can tie them confidently. With the right knot tied securely, you’ll be well on your way to netting the catch of a lifetime. Happy fishing!