Fishing is one of the most relaxing and rewarding outdoor activities, but it can also be a bit daunting for beginners. One of the most fundamental skills every angler must master is how to tie a fishing hook. A secure knot is vital for preventing your bait or lure from getting lost and ensuring that the fish stay hooked once they bite. In this guide, we’ll take you through the various methods of tying a fishing hook, ensuring you’re ready for your next fishing adventure.
Understanding Fishing Hooks
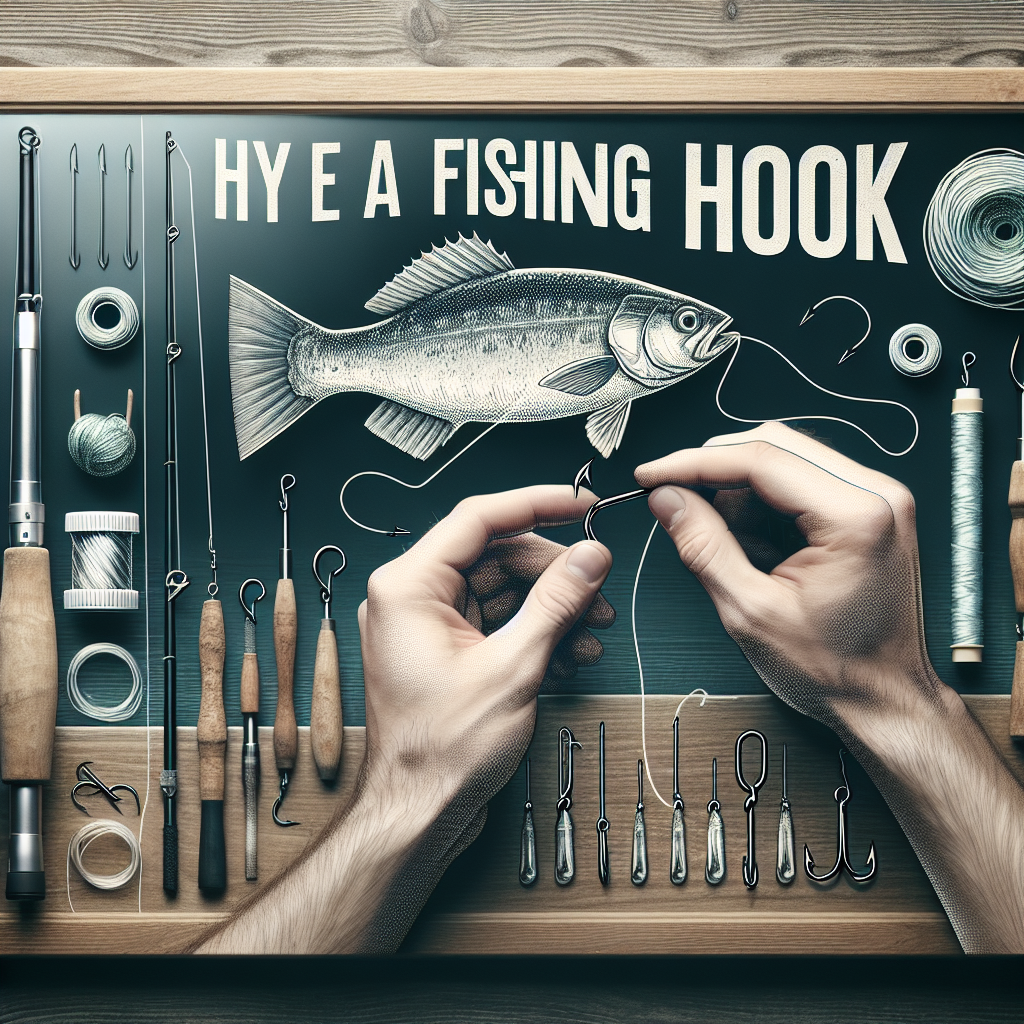
Before diving into knot-tying, let’s familiarize ourselves with the components of a fishing hook. The key parts are:
- Eye: The small hole at the top of the hook that you thread the line through.
- Shank: The long part of the hook that connects the eye to the hook point.
- Hook Point: The sharp end that penetrates the fish’s mouth.
- Barb: A small hook that helps keep the fish from escaping.
Necessary Tools and Materials
To tie a fishing hook, you’ll need:
- Fishing line (monofilament, fluorocarbon, or braided)
- Fishing hook
- Scissors or a line cutter
- Optional: a needle-nose pliers for tightening knots
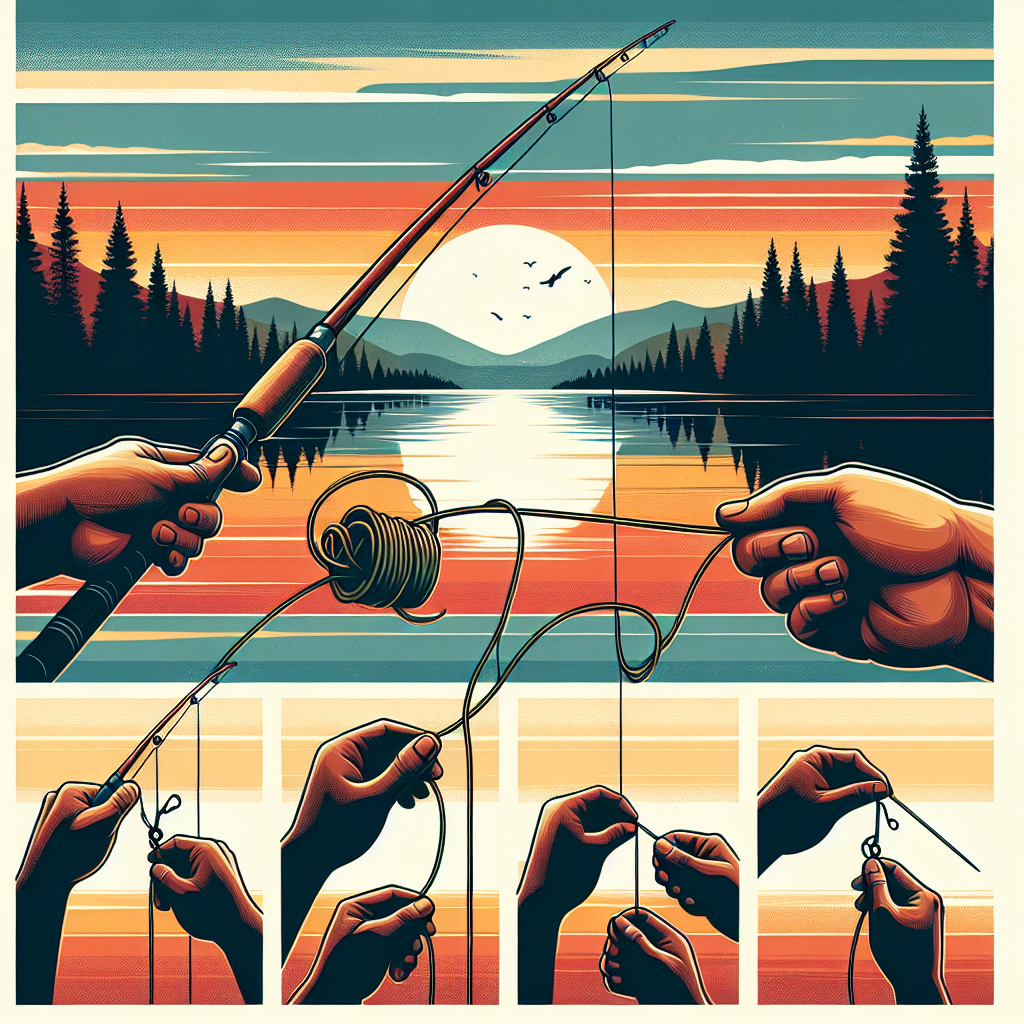
Step-by-Step Guide to Tying Common Fishing Knots
1. The Improved Clinch Knot
This is one of the most popular knots among anglers due to its simplicity and effectiveness.
Steps:
-
Thread the Line: Start by threading the end of your fishing line through the eye of the hook. Pull it through until there’s about 6-12 inches of line.
-
Wrap the Line: Take the tag end (the shorter end) of the line and make 5-7 wraps around the standing line (the longer part). Ensure the wraps are tightly pressed against each other.
-
Create a Loop: After wrapping, take the tag end and insert it through the small loop just above the eye of the hook.
-
Second Loop: Now, take the tag end and pass it through the larger loop you’ve just created by wrapping the line.
-
Wet the Knot: Before pulling it tight, moisten the knot with saliva or water. This helps prevent friction that can weaken the line.
- Tighten the Knot: Slowly pull on both the standing line and the tag end to tighten the knot. Trim any excess line with scissors.
2. The Palomar Knot
The Palomar knot is another strong, easy-to-tie knot, especially favored for braided lines.
Steps:
-
Double the Line: Start by doubling about 6 inches of line. Thread the doubled line through the eye of the hook.
-
Tie a Simple Knot: With the doubled line, tie a simple overhand knot, but do not tighten it fully just yet.
-
Pass the Hook Through: Take the hook and pass it through the loop formed by the overhand knot.
-
Tighten the Knot: Pull both ends of the line to tighten the knot securely around the hook.
- Trim Excess: Cut off any excess line with scissors.
3. The Loop Knot
The loop knot is useful when you want your bait or lure to have more freedom of movement.
Steps:
-
Thread the Line: Pass the line through the hook eye.
-
Create a Loop: Form a loop with the tag end and wrap it around the standing line.
-
Wrap the Loop: Make 5-7 wraps around the standing line with the tag end.
-
Pass Through the Loop: Pass the tag end through the loop you’ve just formed.
- Tighten and Trim: Moisten the knot, pull it tight, and trim excess.
Conclusion
Mastering the art of tying a fishing hook is a crucial skill for any angler, whether you’re a newbie or a seasoned pro. Using the knots outlined in this guide, you can ensure that your bait is secure and ready to attract fish. Remember, practice makes perfect, so don’t hesitate to practice these knots at home before your next fishing trip. Happy fishing!